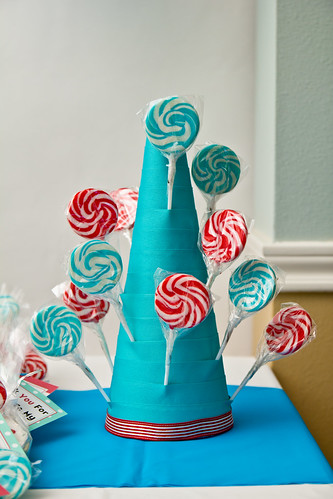
The lollipop stands were my very, very favorite craft from my daughter’s Cat in the Hat birthday party. Probably because they required no hot glue and therefore resulted in no hot glue burns. They were inspired by a craft in Martha Stewart Weddings. (How fun is the couple who has lollipops at their wedding reception!)
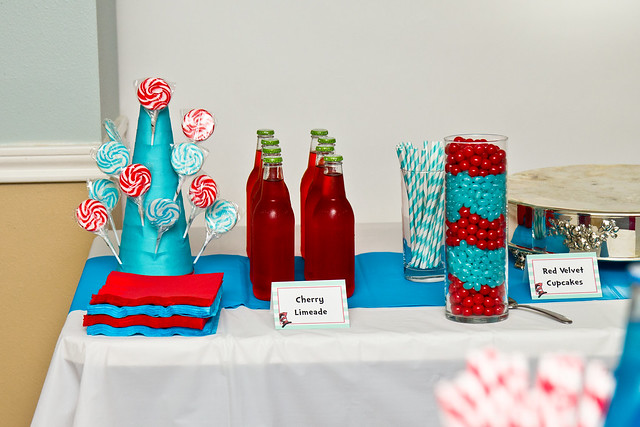
The stands were super easy to put together, even for an overall craft-challenged person like me. I was done with both in 45 minutes. They’re completely customizable for any party, shower, or holiday. I picked out ribbon colors that were inspired by the art in Dr. Seuss’ The Cat in the Hat – red and white stripes from Cat’s hat and an aqua reminiscent of Thing 1 and Thing 2’s hair.
After wrapping the styrofoam cones, I tucked the red and aqua lollipops in between the ribbon strips. Custom lollipop stands = done.
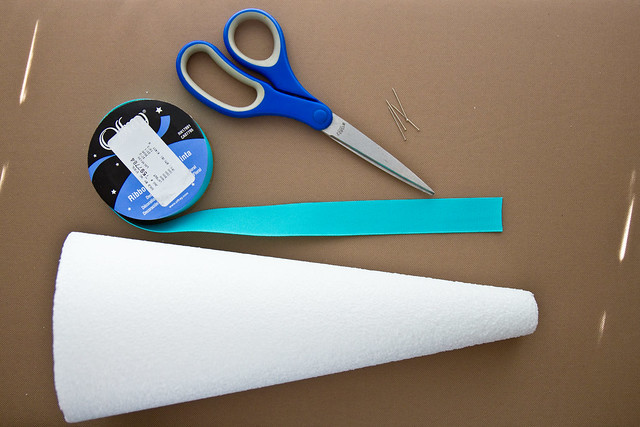
Materials Needed (makes 1 lollipop stand)
4 7/8 inch x 11 7/8 inch floral styrofoam cone
7/8 inch x 18 ft ribbon – this is enough ribbon to complete one cone and about 1/3 of a second cone
1/2 inch ribbon in for trim, ~16 inches long (optional)
Scissors
Pins
15 Lollipops (the diameter of the lollipop tops was ~2.5 inches)
Instructions
Lay the end of the ribbon over the top, positioning it so there is ~1 1/2 inch overhang on each side and cut it. Secure into place with 4 pins.
Wrap the ribbon around the top side of the cone, securing in the back with a pin near where the two ribbons overlap.
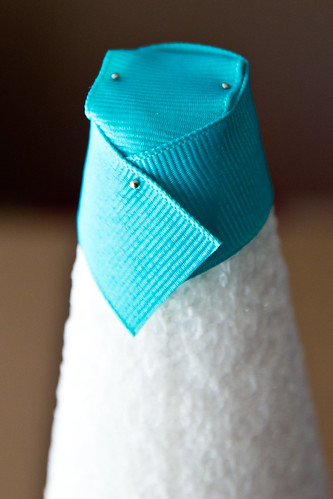
Cut the top overlap of ribbon parallel to the bottom layer. You can see the top corners of some of my ribbons poking out – that’s because my first cuts didn’t line up with bottom edge of the ribbon. I fixed it on the way down and I think it looks much cleaner that way… not that anyone is going to be checking out the backside of the lollipop stands. But, you know…
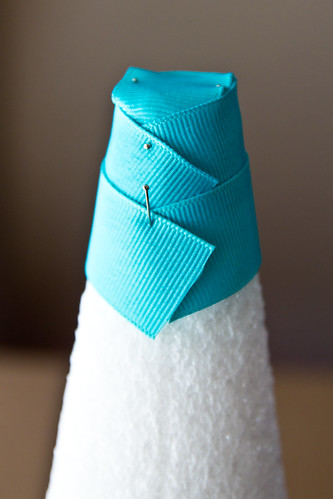
Continue all the way down the cone. The idea is to pull each piece of ribbon just snug while slightly overlapping the previous layer. Not Spanx-tight, but snug – you’ll still need to be able to wedge lollipop sticks between the ribbons but the ribbons need to be able to stay in place so you might need to adjust the tension just a bit.
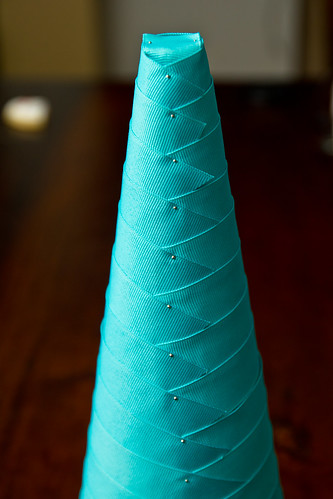
When you get to the bottom, you have two options: 1) Just add another layer of the same ribbon, adjusting or cutting the excess ribbon even with the bottom of the cone or 2) Use a thinner piece of ribbon to act as trim onto the cone. I opted for #2.
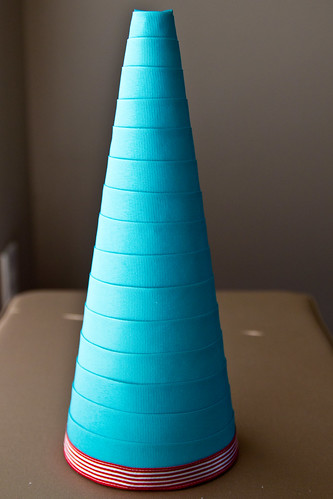
Starting at the bottom of the cone, slide lollipops between the ribbons and gently push them into the styrofoam. The original instructions indicated that the stands might be unstable and should be weighted down – I didn’t find this to be the case at all. The lollipop stands held their own with people pulling out lollipops, without a single tip-over.


What a great idea for lollipops, pie pops, cake pops any kinda pops. Brilliant!!
I must remember this – it would be so great for a party and I love that you can match it to your colour scheme!
So adorable! I am sure your daughter loved her party and appreciated all the hard work you put into making it a great day for her 🙂
Just have to say I loved this part of your tutorial the most , “Not Spanx-tight,” made me laugh!
I lvoe the colours! They’re great!
this is absolutely adorable! i think it’d be great for cake pops, too!
Hi- i just made this and it was easy!!!! i am thrilled BUT it does seem to need to be weighted down. Do you have a suggestion for how to do that???
Thank you