I had a chance to hang out at White on Rice Couple’s beautiful studio last month for a KitchenAid event. There’s a dreamy prop room. And an entire wall in their kitchen dedicated to hanging cutting boards; some old, some new, all beautiful pieces that add height, texture, and mood to a photo.
And I wanted 5 of them. No, 10!
Okay, okay. I’d settle for 7.
When I got home, I presented my husband with a small list of projects. Near the top of the list, right under “organize prop closet,” was “5! no, 10! okay, 7 homemade cutting boards.” (Actually, that’s the short version. The long version involves me window-shopping online for cutting boards and then nearly fainting when I saw the $200 price tag on a beautiful, dark vintage serving board.)
Over the next couple of weeks, we’ll show you some of our latest DIY food styling & photography prop projects. We get to save money, I get new props, and my husband gets to do one of his favorite things ever: buy stuff from the lumber yard.
I’ve mentioned it before, but woodworking is one of my husband’s favorite hobbies. He gets to work with power tools. Alone in the garage. And make stuff. I get it. I really do 🙂 You can imagine, then, that getting him to help me make some new wooden prop pieces was not like pulling teeth.
As a matter of fact, he pretty much took over.
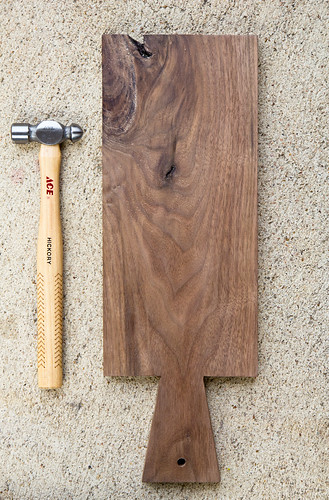
We took a stroll through a nearby lumber yard and found ourselves staring at a pretty 1×8 plank of solid walnut. The first board that we made was an ode to that $200 online beauty: dark, long, and straight with crisp angles.
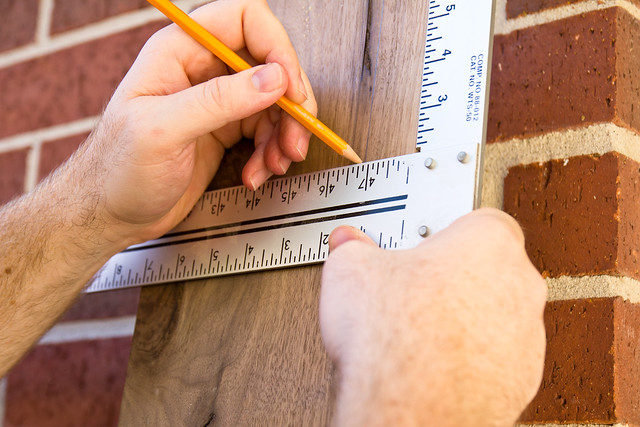
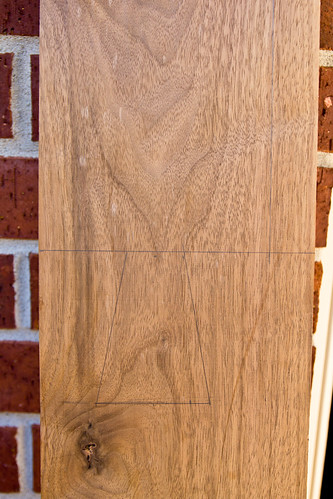
We marked out the measurements and traced the shape of the board directly onto the wood.
We cut the board out – a power saw to remove the working end from the plank and to quickly saw down one length of the board and then a hand saw to cut around the handle. You can avoid the use of a power saw by just using a hand saw and either making a 8-inch wide board (I cut mine down to 6 inches) or just buying a 1×6 instead 🙂
We sanded the cut edges smooth: a pass with medium-grit sandpaper and then a pass with finer-grit to finish.
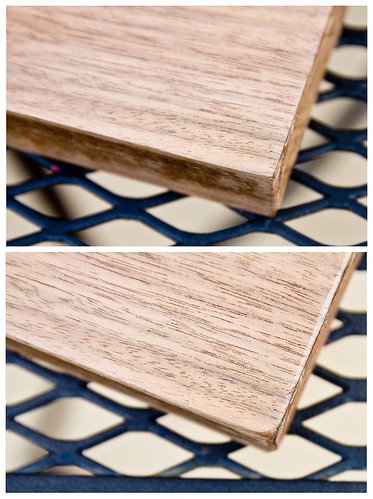
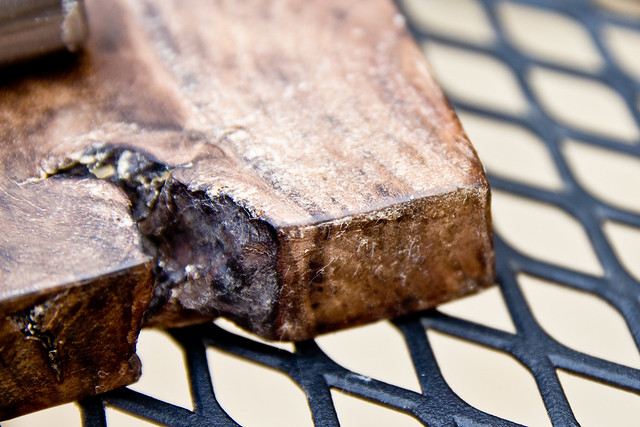
I used a small hammer to soften the crisp edges around the board to give it a slightly more worn look.
I used a drill with a medium-sized round bit to drill a hole in the handle so I could loop some twine through it and have the option for hanging storage.
I rubbed the board with tung oil to bring out the grain and then finished it with a layer of finishing wax.
Done and done!


