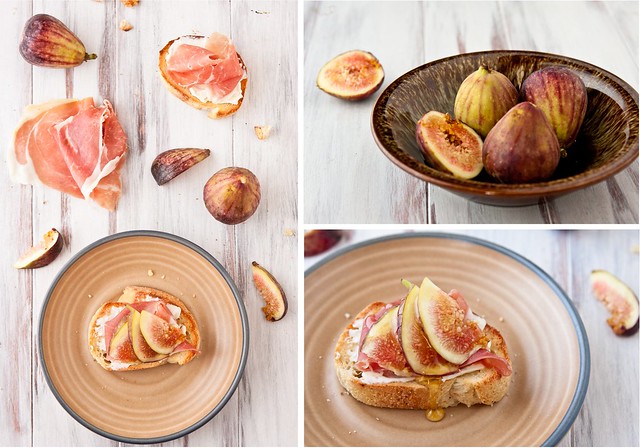
I promised many of you a “How To” on the table tops we’ve been using for the last couple of months. They’re super easy to do, the one pictured below I actually did all by myself today in under an hour… with the help of a couple of convenience items to help with the sanding.
The table tops are double-sided – two for one! – and are 2 feet square. The cost of the project will vary based on items you might already have but the biggest expense is the wood at about $25 – that’s $12.50 per “table” – not too shabby at all, especially when you think about the alternative of actually buying an entire table. Or the gigantic house you’d need to store all that extra furniture!

Items you’ll need:
A napping toddler
8 “wide” wooden planks 1/4 in x 24 in x 4 in
8 “skinny” wooden planks 1/4 in x 24 in x 3 in
Wood glue
Sand paper in medium grit (80-120)
Heavy items to weigh down the table top (books, canned goods, or boxes of leftover travertine tiles from the garage)
Wood stain
Paper towels
Paint brush
Paint
Awesome things that you don’t need, but if you have them, it will make this project faster and more enjoyable:
Cold beer
Electric sander
When you buy the wood, look for pieces that aren’t warped, excessively longer or shorter than the others, and, if you can get lucky, don’t carry the telltale “new wood” planer marks. We purchased the most inexpensive wood that we could find. You’ll likely find them in 2- and 4-ft pieces. If you have a saw at home, you might consider getting the 4 ft pieces to decrease the cost of your project a bit.
We mostly used the basic assembly instructions from Love & Olive Oil, who crafted a beautiful turquoise table top, and applied our own personal preferences. The possibilities and variations are limitless!
1. Pick a side of each plank to be the tabletop – by default, I made the non-stickered side the top.
2. Sand away the planer marks on the top side of each board. This is a personal preference, we preferred not to have the uniform lines show through the surface. If you have an electric sander, this is seconds per plank. Manually, a little longer. And a little sweatier. These are planer marks:
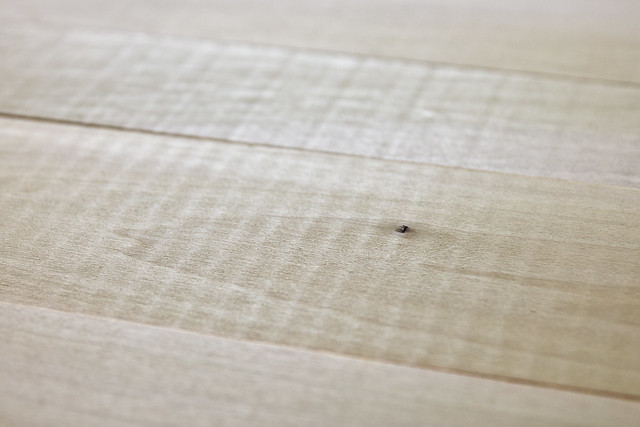
3. Sand off the corners of the long edges of the top side. Another personal preference. When you glue the boards together, this will help break up the top so that it looks like it was made of wooden planks instead of one solid slab of wood. You get the appearance of grooves without fussing with actual grooves, shifting boards, uneven gaps, and glue seepage. Check out the photos of the finished boards above or the one below after step 6 to see the “grooves.”
4. Protect your work surface with a drop cloth or newspaper. Placing the “top” side of each board down, lay down 8 planks (4 wide, 4 skinny), alternating between the wide and skinny planks. Line up the edges on one side – the edges of the “back” side will likely not line up properly due to slight variations of plank length.
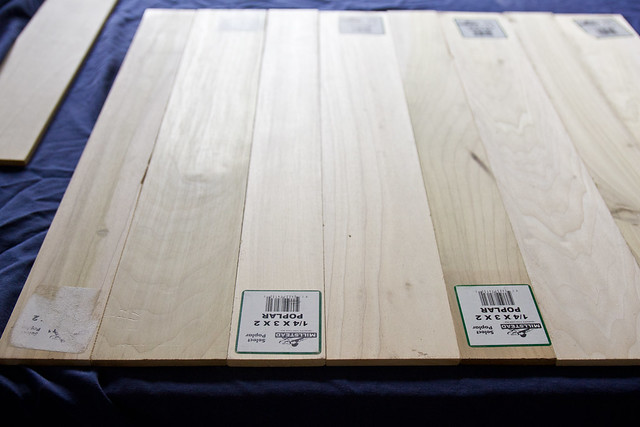
5. Squirt wood glue over the surface.
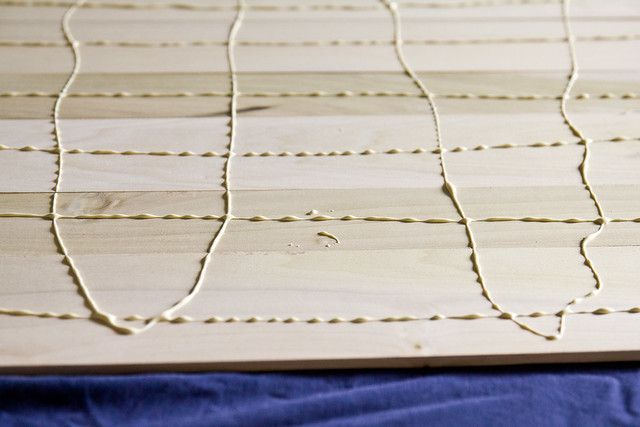
6. Lay the remaining 8 planks down perpendicular to the bottom, “top” side up. Line up the edges on one side.
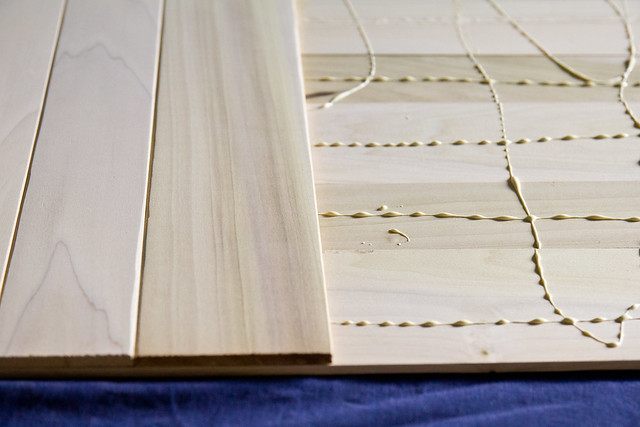
7. Weigh the table top down with something heavy – cookbooks, boxes, canned goods, whatever you have. Let sit for 24 hours.
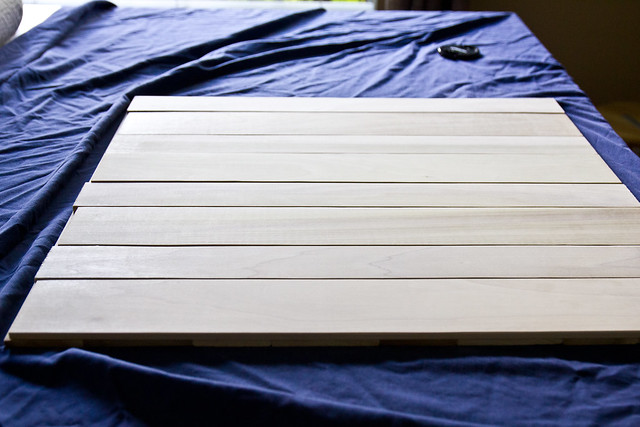
You now have 2 table tops that just need to be stained and/or painted!
8. Working one side at a time, wipe the table top with a damp paper towel – damp wood stains better than dry wood.
9. Apply stain with a paper towel or paint brush, following the directions on the can.
10. Lightly brush on the paint color of your choice: we have white, blue, red, and a plain stained side that I might paint black… and the two unfinished sides from the pictures above. I’m thinking a light, bright yellow. Or maybe orange. No – purple!


