


If you’ve spent any time poking around the blog at any point over the last 8 (!) years in late summer, you know you can guarantee three things:
1) Somewhere, I’m bitching about the oppressive Texas heat and humidity.
2) I’m hoarding stocking up on hatch chiles.
3) I’m planning my next margarita, usually with the current margarita in hand.
Never change, Shawnda.

So while your grocery store is boasting $.67/lb fresh hatch chiles, make sure you get in on the action. You need no special equipment – a pan, some foil, an oven, and something to protect your hands.
My seafood counter guy will gladly hand over a free pair of the food-service gloves that they use behind the counter. But when I forget to ask, or assume I had an extra pair when I actually didn’t, I can MacGyver some freezer bags and rubber bands into a clunky – but effective, considering the alternative – substitute.
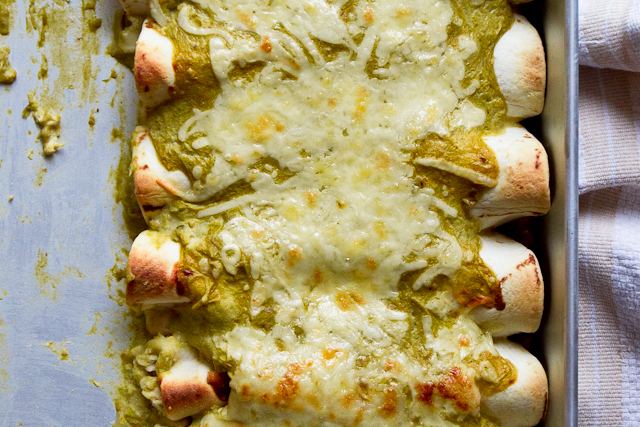
Once your peppers are roasted, put them on anything and everything that doesn’t move. But I’m getting just a little ahead of myself so let’s get started.
How to Roast Hatch Green Chiles
How to Roast Hatch Green Chiles, step by step.
Ingredients
- Hatch chiles (any pepper, really)
- Large baking pan
- 2 lengths of foil, slightly longer than your baking pan
- Gloves/Protection for your hands when peeling the cooled peppers (see above)
- Sandwich- or snack-sized baggies
Instructions
- Turn on broiler and put your oven rack in the top 1/4th of the oven.
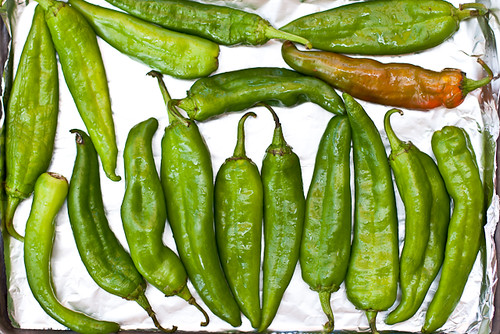
- Line a large baking pan with one sheet of foil.
- Place washed chiles on the pan in a single layer.
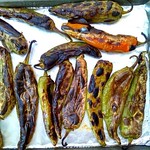
- Roast under the broiler for 6-8 minutes, until blistered.
- Flip, repeat (the second side usually takes less time).
- Make the pepper is mostly blistered (larger sections of unblistered pepper will be hard to peel).
- Remove from the oven, condense the peppers into the center of the pan and cover with the second sheet of foil (it won't be air-tight but it will hold the steam and heat in that makes it possible to peel the peppers easily).
- Allow peppers to cool to room temp.
- Peel each pepper, remove the stem, and slice open.
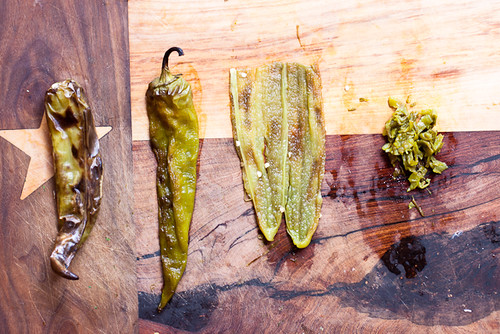
- Use your knife to scrape out the seeds.
- Dice peppers, transfer to a bowl for use within 7 days, and then proceed to put peppers in and on everything that doesn't move.
- For longer storage, place in freezer bags (I use 1 cup portions) and freeze.
Notes
Yields: Servings vary
Estimated time: 35 minutes
Great idea!
hmm I gotta try this recipe too. will definitely try this one sometime soon…
You sound like me at the end of the summer. The focus is hatch and the heat!
I have never before seen hatch chilis in our grocery store, until today. I stocked up on plenty and I can’t wait to start cooking with them!
Just wanted to say that I love the Lone Star State cutting board! Also, finally found hatch chiles in my area, and I love them!